
Melty Bead Photo Frames Tutorial

After the kids went to bed one night, I thought I'd experiment a little bit with some of our Perler beads. I had the idea to make some frames, so I thought I'd try it out and see what I came up with.

Here's what I used:
For the dog magnet: animal peg boards
For the heart frames: Heart peg board
Melty Beads: Random Perler beads
Magnets: Craft Magnets
Hot Glue
Iron

The first thing I made wasn't a frame.... it was just this dog magnet. I mad eit so it looked like Crunch Berries! After I did the pegboard as it was, and ironed it, I added an extra Perler bead to each of her ears to make them long enough like her ears actually were. Then I put a magnet on it and hot glued it. It's now hanging out on the fridge.
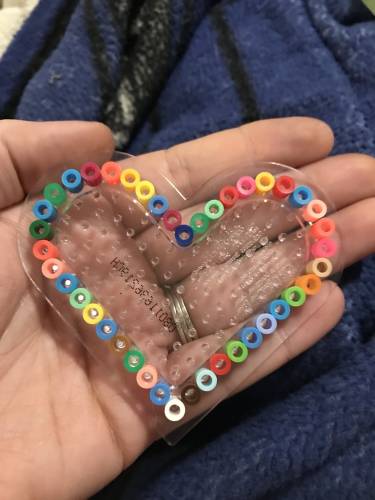
Then, I took random colors of Perler beads and put them around the outermost row of the heart-shaped board.
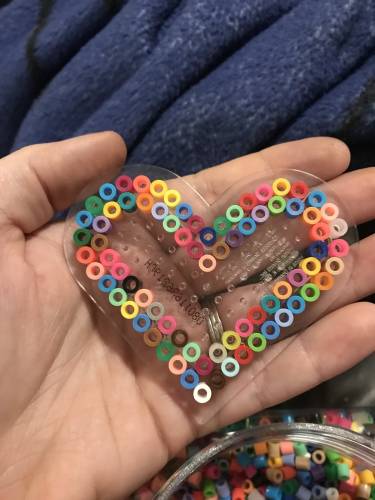
I wasn't looking for any specific color... just grabbed what I got. I ironed this as per the instructions.
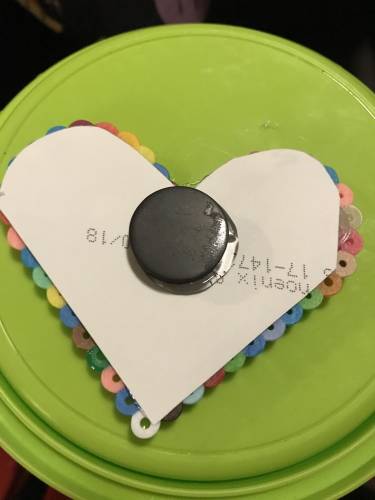
I cut out a photo and glued it to the frame, as well as hot glued a magnet onto the back of the photo.
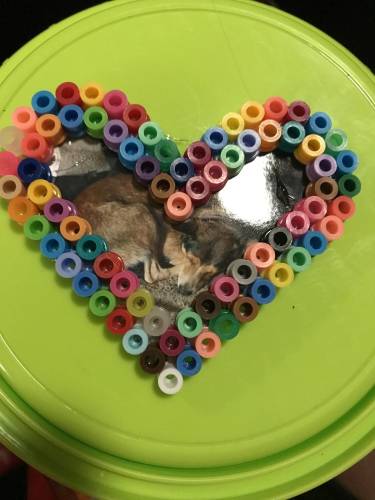

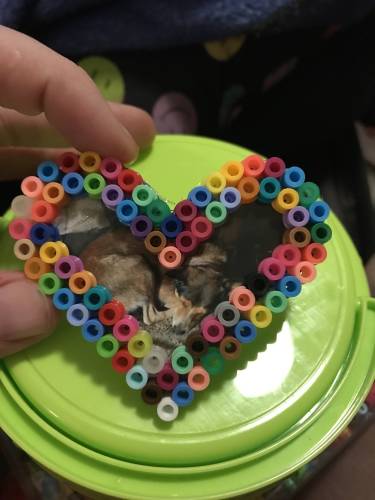
There we go! I did these of the dogs because the frames were pretty small. I need to get a larger pegboard.
For the larger circle one, I did the same thing, only I put beads in just the outermost row of the largest circle board I had. I then ironed this by itself, and then put it on another piece of wax paper and manually added another row of beads to the outside. This was pretty hard and I didn't get any photos because I needed both hands to make it happen!
However, it turned out just fine! I've ordered larger Perler Peg Boards so I can make some more of these and maybe sell them in my Etsy Shop .
Do you have any unique photo frames?


Comments
I love beads necklaces and bracelets. I shall try these